Level Up Your Look: New Stylized Avatar Customization Options
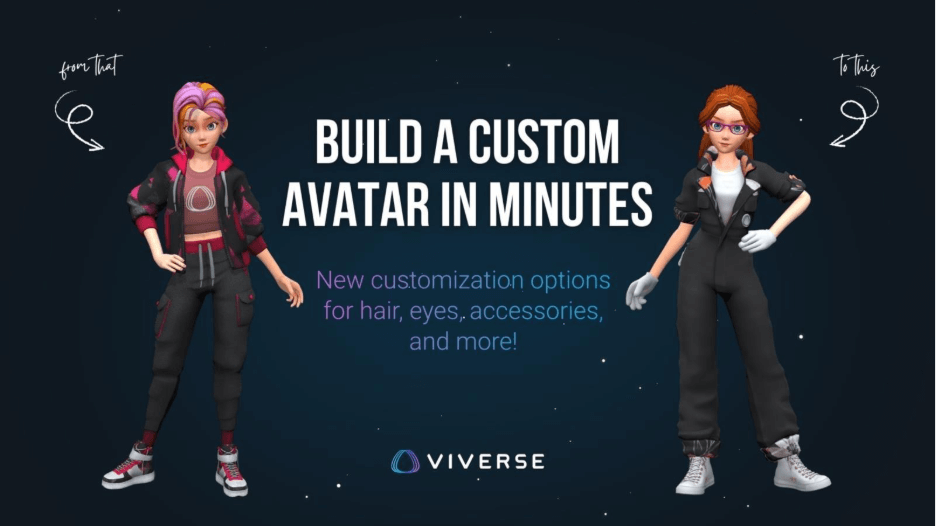
Stylized Avatars received new customization features at the end of 2025. When creating a new 3D avatar on VIVERSE, you’ll start with the same iconic characters. But, at a glance, you’ll be able to tell right away what’s new.
What’s changed
Stylized Avatars started as a quick “pick your character and go” experience. You could choose from our pre-styled VIVERSE characters and jump right in. But we’ve been busy since then.
Over the last few months of 2025, we expanded the avatar interface to help make avatars feel more personal. That’s when outfit customization arrived, with options like outfit type, fabric choices, color picks, and logo or image placement.
This update is the next step. You’ll start with the same character lineup, but now you can adjust details like lips, eyes and eyebrows, hair style, and more. It’s a small change that makes a big difference in how you connect with your avatar.
Here’s what’s new in Stylized Avatar customization:
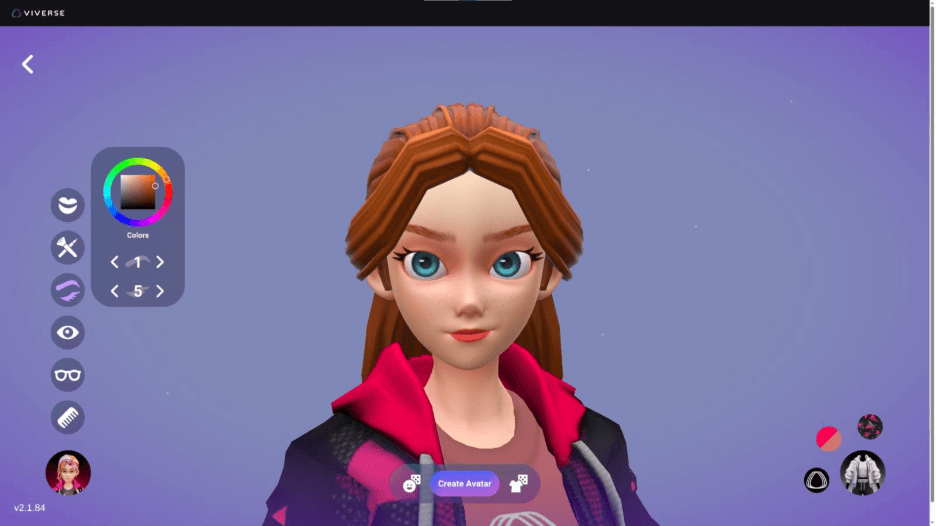
- Lips – adjust color for a subtle shift or a bold pop.
- Makeup and graphics – add extra personality with varying shapes and locations while using a color picker to change colors.
- Eyebrows and lashes – pick a shape and color that matches your vibe.
- Eyes – changing eye color is the easiest way to make quick identity shifts.
- Glasses – choose style and color options, including frame and lens tweaks to either have clear lens eyeglasses or colored lens sunglasses.
- Hair – there are so many style choices now, and the color picker lets you choose a primary and secondary color for the hair, so your look feels intentional.
Step-by-step walkthrough: creating a new Stylized Avatar
Start with My Avatars
Start by opening My Avatars in your VIVERSE account. Select Create Avatar, then Stylized Avatar to create a brand-new Stylized Avatar to personalize from the ground up.
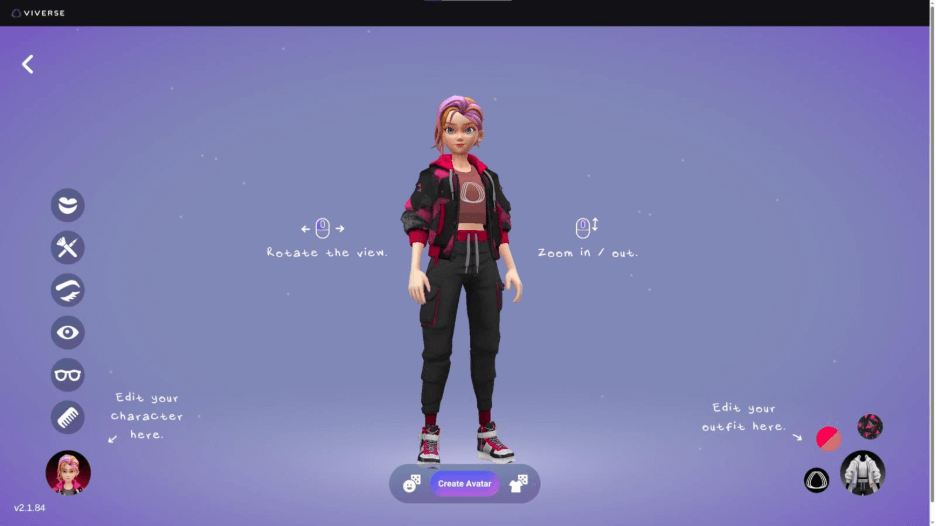
You’ll land on a refreshed interface, with your selected character previewed up front. This makes it easier to see changes as you go. You can randomize your character’s facial and hairstyle options, as well as clothes combinations. It’s a great way to create a quick avatar or brainstorm color and outfit pairings.
To learn about what’s changed, let’s walk through what’s available to adjust within the Stylized Avatar character interface, start to finish.
Pick a baseline Stylized Avatar
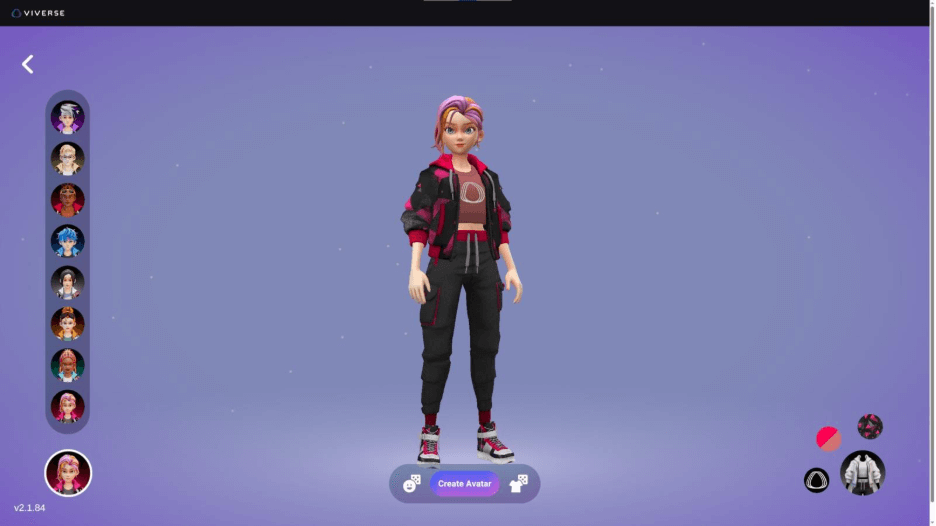
Pick a Stylized character to use as your baseline. These are the same familiar VIVERSE characters, now with more room to customize and make them unique. We left the default choice of Iris for our example, but you can choose any or all to make your own.
Gotta start with the hair
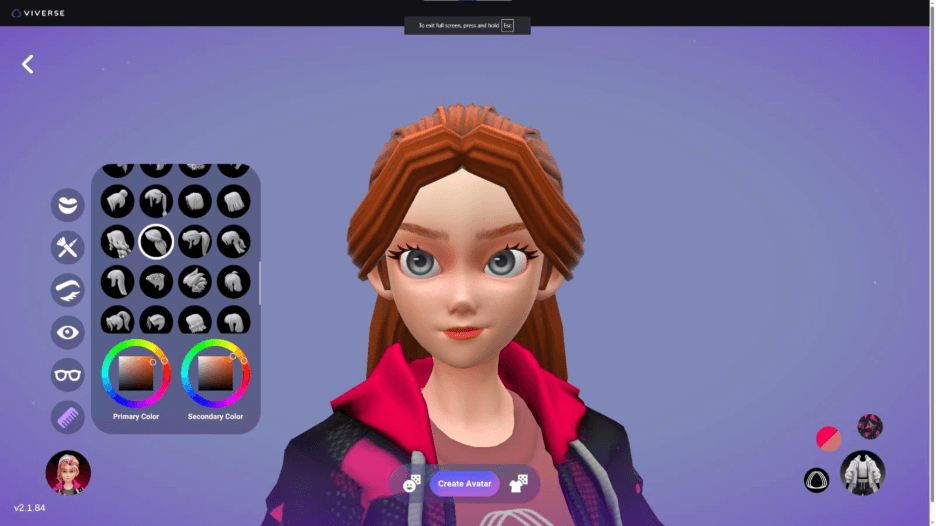
Choose a hairstyle, then lock in your color(s). Hair styles impact the look in a big way since, with one change, the overall shape and framing of the face can exaggerate certain features.
Touch it up
We adjusted the eyelashes and eyebrows since they frame the eyes and set up our base to build the rest of the face changes from. There are several styles for both eyebrows and eyelashes, with the ability to change the color of the brow. Let us know if we should include a lash color in the next update!
This was a good opportunity to launch into other eye alterations too. For example, we changed the eye color to a bright blue rather than the original green.
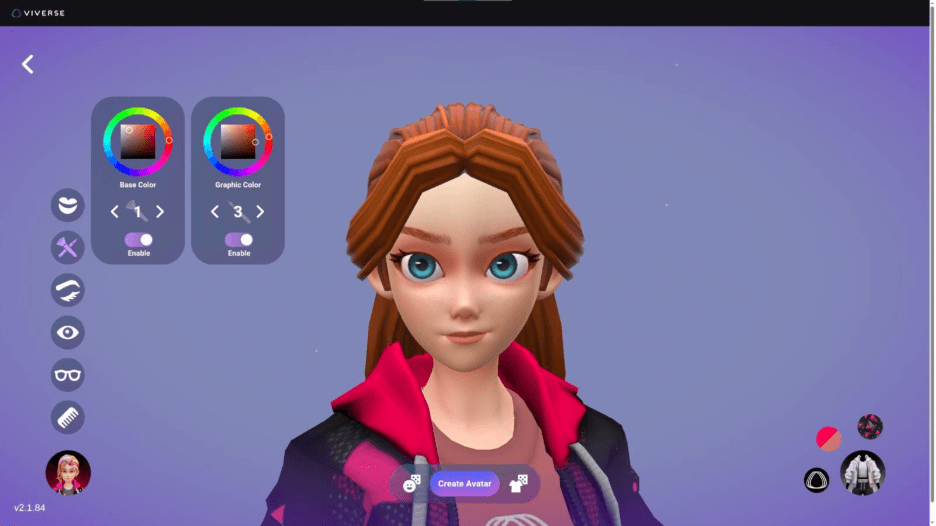
The addition of a reddish-brown graphic as an exaggerated eyeliner, with a muted pink for the eyelids, helps the eyes stand out without appearing flat or overly exaggerated.
Remember, this is all personal choice. You may want to work out of order compared to how the features are displayed to see what changes do, and how one alteration affects another.
Accessorize
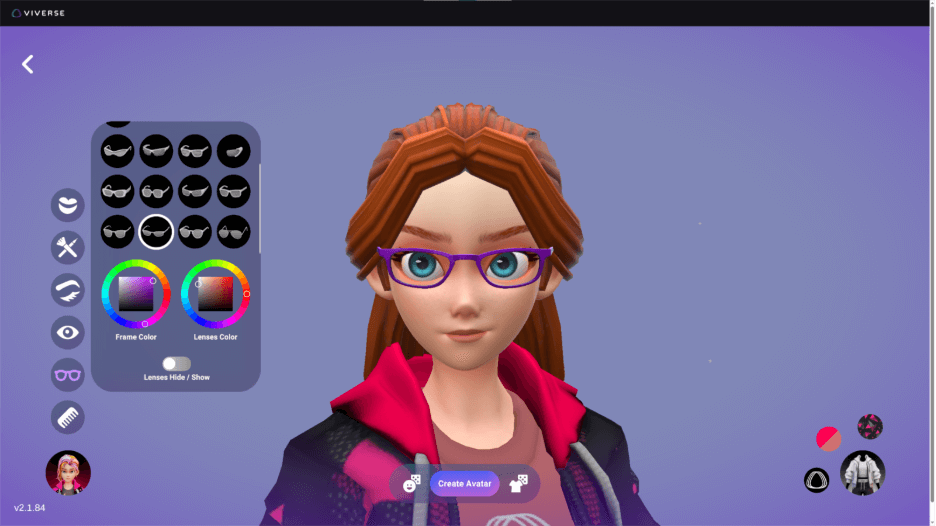
If you want eyewear, because we all know glasses are cool, then tweak the frame and lens options until you’ve got the look you want. It’s a small touch that can make a big transformation to the overall appeal of your character.
TIP
Not sure how you want to change the character up? Well, there’s an appearance randomizer button at the bottom left of the avatar. Randomize away until you find a look that makes you smile.
Lock in the outfit
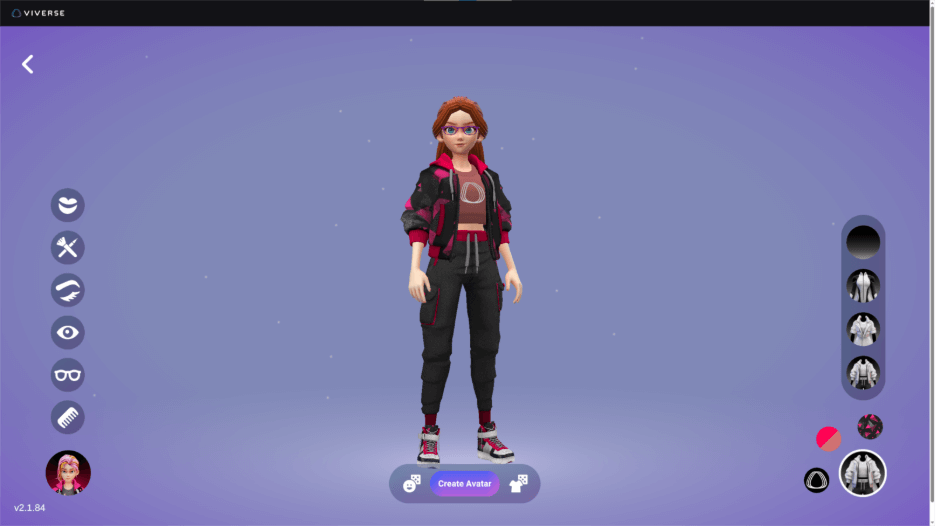
The default outfit looks great, but we want to show off what you can do. You’ll find the outfit icon in the bottom right of the UI, where you can select the outfit style—there are three to choose from: bodysuit, coveralls, jacket and capris—that you want your avatar to wear.
TIP
Choose the outfit you’d like to customize or use the outfit randomizer button at the bottom-right of the avatar to land on some fun.
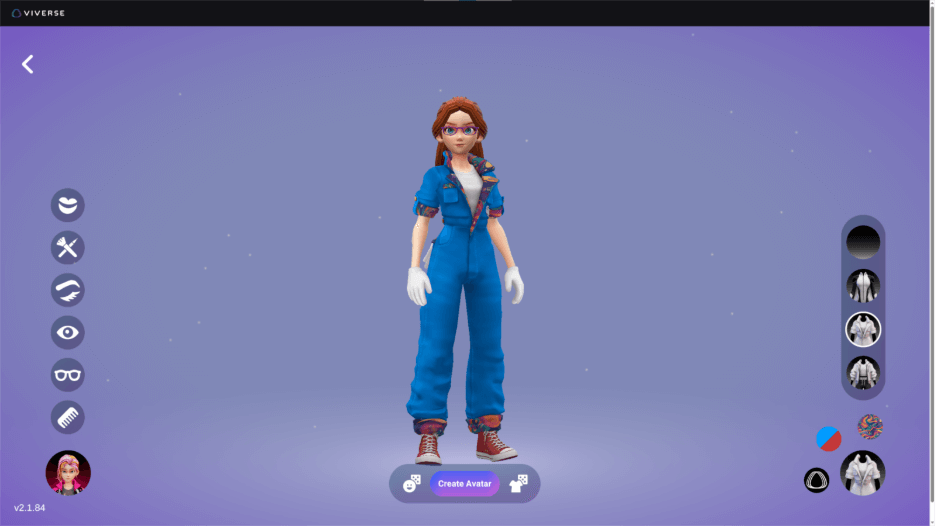
We selected the coveralls outfit, which implements the default primary color (blue) for the main body of the outfit, and the default accent color (red) for the shoes. The fabric pattern selected is used for the rolled-up sleeve and pant cuffs, and the inside of the collar.
TIP
Accented areas differ depending on the outfit, so you’ll want to play around with the various styles to see how the pattern placement works.
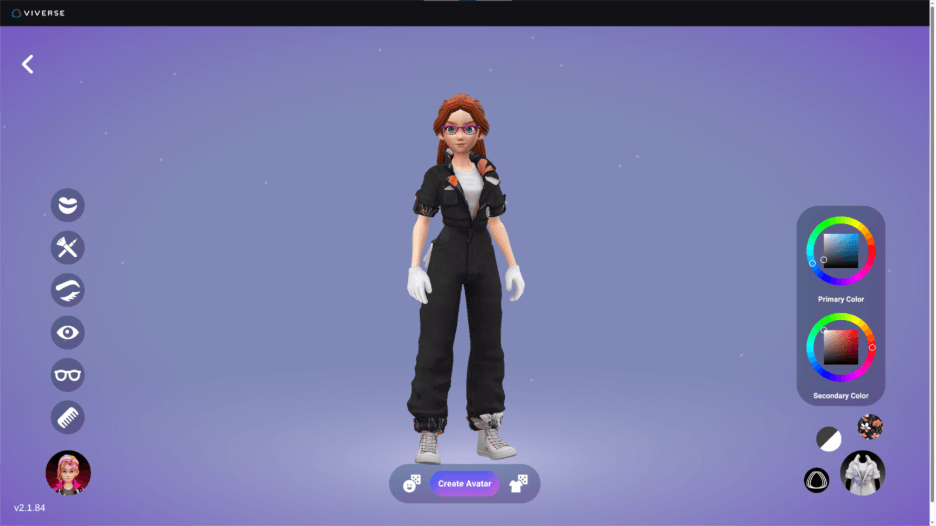
Just a few changes can make such a huge impact. We selected a deep charcoal gray as the primary color and white for the accent.
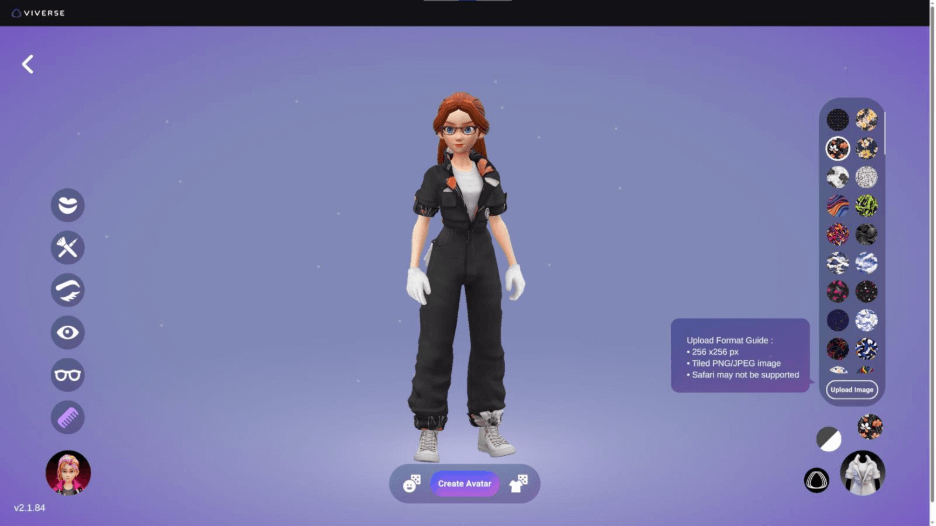
You’ll notice there is a smaller icon above the outfit selection, which has a fabric pattern by default. Clicking the icon opens a pattern library, with the option of uploading your own image/logo. So long as the custom image reads well at 256x256px, it should look great as a fabric design for the outfits.
TIP
The pattern is applied differently to each outfit, so you’ll find some patterns work better with some styles than others.
This moment is where your character really pulls together and lets you know whether something needs additional tweaking. Try some other fabric patterns, the outfit randomizer for some fun ideas, or simply move on.
Not shown in this post is our selecting the VIVERSE logo from the icon just to the left of the outfit selection. There are many options to replace the default selection with, and you can upload a custom image here as well.
Go for a spin
It’s not mandatory, but we suggest doing a quick 360-degree check before finalizing your choices and creating your avatar. A saved avatar can’t currently be edited after creation, but you can always start over if something is amiss.
Save your work

Click Create Avatar to finalize everything you’ve adjusted. You’ll be asked to confirm your decision. Once you click the checkmark, your new Stylized Avatar will be saved to your avatar library. By default, the new avatar will be marked as your active 3D avatar.
Export your avatar as a VRM
Did you know that your VIVERSE avatars can be exported as VRM files? That makes it so much easier to build your identity around your avatar, as well as use your avatar across other tools and workflows (streaming to Twitch, recording content for YouTube, et cetera). Check out how to use VIVERSE as a source in OBS, if you’re interested in learning how to use VIVERSE Worlds or games in your streams!
If facial tracking matters for your setup, Stylized Avatars support ARKit for improved face tracking.
Tell us what you want next
More customization upgrades are already in the works. We’d love to hear what you want most, though!
Do you want more accessories, more face controls, more outfit layers and types, or something totally unexpected? Drop your wish list and help shape what we build next.
For a full overview of avatar types on VIVERSE, check out the VIVERSE docs.