How to Start VTubing with Free 3D Tools
Ever wanted to stream or record content as a 2D or 3D virtual character instead of as your real-world self? That’s VTubing in a nutshell, and becoming a VTuber is easier than you may think.
This guide from VIVERSE will show you exactly how to get started with VTubing. We’ve partnered with VtuberSenpai, a content creator and expert on the matter, to bring you tips, tricks, and other important information that will help you on your journey to stardom. We’ll show you how to make a VTuber persona, set up tracking with a camera, and stream content to an audience. By the end of this step-by-step tutorial, you’ll be ready to greet the world as an all-new VTuber!
A Quick Note About This Guide
There are several types of avatars that can be used for VTubing. Some are hand-drawn 2D characters with an array of expressive poses, while others are fully 3D models. In this guide, we’ll show you how to get started with VTubing using a 3D avatar. It’s the easiest way for beginners because:
- No drawing or rigging is required
- Tools are free, beginner-friendly, and widely supported
- The model works with popular platforms like YouTube and Twitch
Before you start building your virtual character, though, let’s make sure you have the right tools in place.
Step 1: Set Up Your Tools
For this tutorial, you will need:
- PC or laptop with at least an RTX-level GPU, Intel i5 or Ryzen 5 CPU, and 16 GB RAM
- Camera:
- iPhone – offers high-quality facial tracking if one is available to you
- Webcam – an acceptable alternative, but facial tracking is key, so we still suggest an iPhone or similarly high-quality device with built-in tracking
- Microphone – a USB mic is recommended for cleaner audio
- Internet connection – stable upload speed for streaming or enough bandwidth for video uploads
Tip: You don’t need top-of-the-line gear to begin. If your system can handle light gaming or video calls, it can likely run VTubing software.
To get you started with VTubing, we’ll be using free 3D VTuber tools in this guide:
- VRoid Studio: to design your VTuber character, a key step in any VTuber setup for content creation
- Warudo: feature-rich solution for face tracking and animation, perfect if you’re just getting started, and widely used in motion capture setups; or
- Vnyan: another feature-rich solution for face tracking and animation that offers more customization options
- OBS Studio: to record or livestream your performance, making it one of the most essential free streaming tools available
Let’s tackle the character creation part first.
Step 2: Create Your VTuber Avatar with VRoid Studio
VRoid Studio is a robust character design program with a ton of customization features. You’ll be using it to build a 3D avatar model.
Download and Install VRoid Studio
Go to the VRoid Studio website, download the version for your OS, install it, and then open the program file.
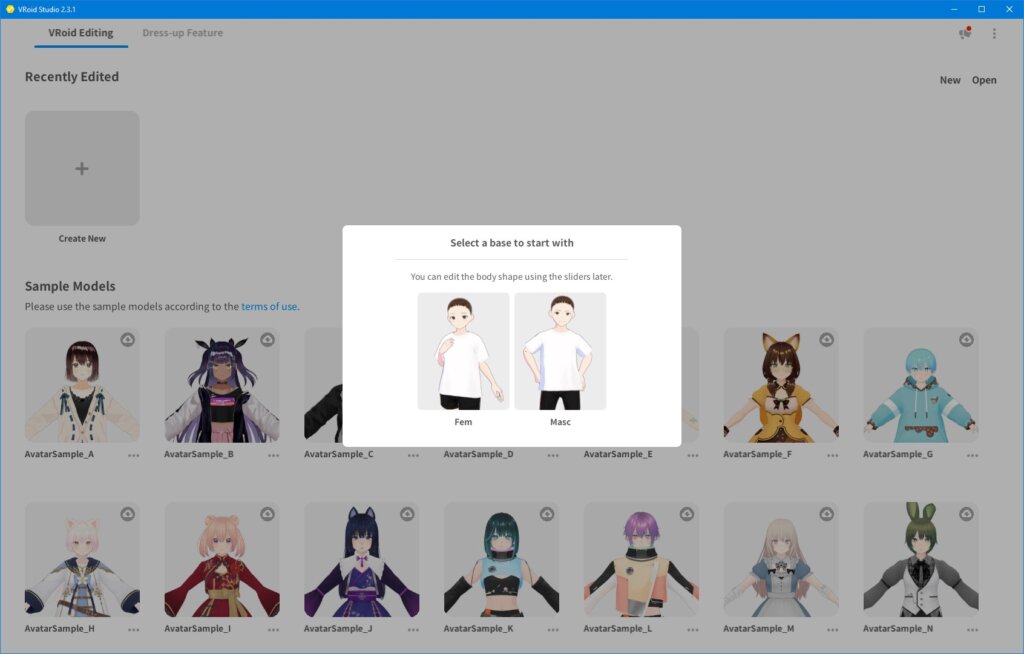
Start a New Project
Select Create New and choose a feminine (fem) or masculine (masc) base model.
Customize Your Character
VRoid Studio’s interface is powerful yet user-friendly, catering to beginners and experienced users alike. Go ahead and start adjusting the sliders corresponding to each feature and watch as your avatar changes in real-time. You can also choose preset components or select a color for many of the features.
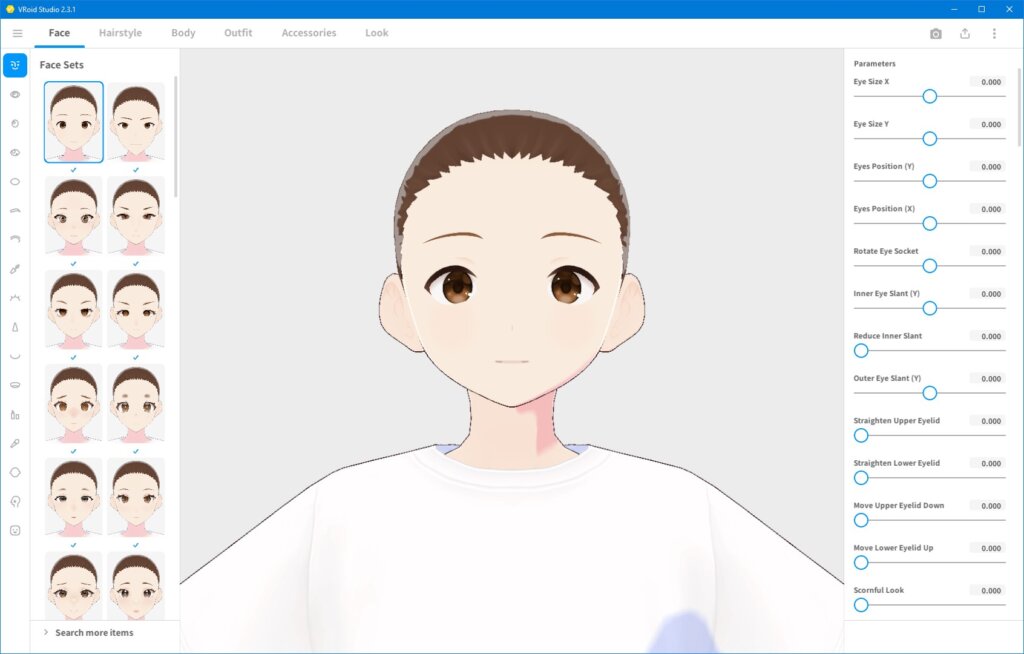
You can see facial presets and slider adjustments in the image above. To the left of the presets, you’ll find characteristic panels that offer deeper customization to make your VRoid model match your vision.
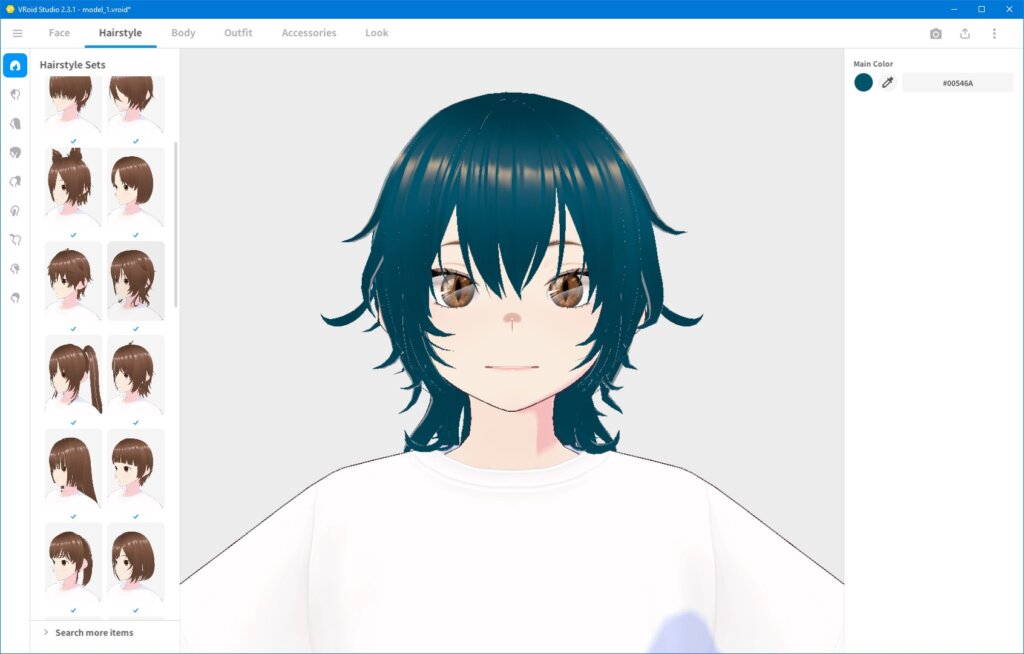
Work your way through each of the feature menus for Face, Hairstyle, Body, Outfit, and Accessories to fine-tune your VTuber model, and be sure to save your progress as you go.
Avatar customization options include:
- Face shape, eyes, nose, mouth, and skin tone
- Hairstyle, hair color, and bounce physics
- Outfit, accessories, and body proportions
- Optional details like face paint (makeup and other facial decorations)
For the adventurous beginner or experienced user, you can try adding new textures to the default options to further customize your model’s appearance.
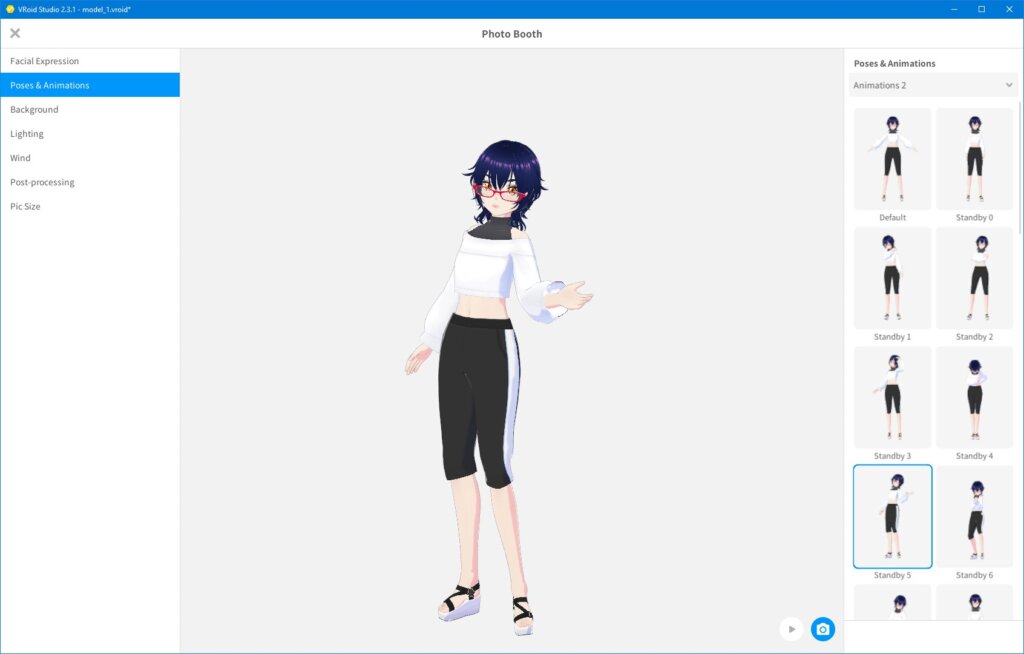
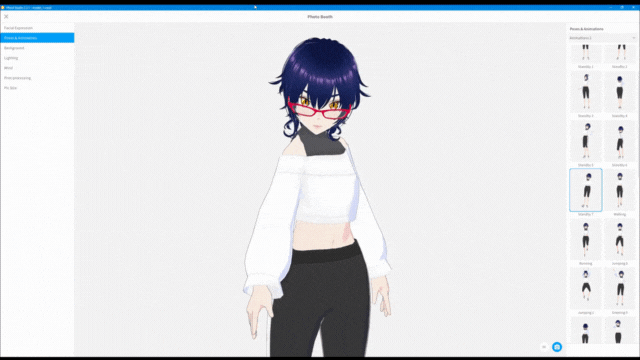
For a more interactive preview of your avatar’s progress, click the Camera icon to select different animations or change the lighting and background for a full 3D view. Use the Expression Editor to explore different emotions for your model.
Tip: Short on time? Use presets or free-to-use assets to create a ready-to-stream avatar in under 10 minutes.
Use Free Assets from Booth
There are a ton of avatar customization options built into VRoid Studio, but for even more variety, visit the Booth marketplace and check out the free hairstyles, outfits, textures, models, and more.
- Filter the price so that it costs 0 JPY, setting the results to only include free assets. (Paid options are available too, but we’re focusing on what’s possible with free assets at this time.)
- Look for .vroidcustomitem or .png files, which can be directly imported into VRoid Studio
- Search for “VRoid対応” (VRoid-compatible)
- Avoid .fbx, .blend, or .unitypackage files unless you can convert them
Creators typically include installation instructions with their assets, so read them carefully if provided.
Check the Licensing Restrictions
Make sure that you refer to the creator’s licensing restrictions before using any asset. Many files are for personal or VTuber use only and require that you credit the creator.
Export Your VTuber Avatar as a VRM
- Click the upward arrow icon in the top right.
- Choose Export as VRM.
- Fill in your avatar’s information and license terms.
- Click Export.
Your avatar will be saved on your computer as a .vrm file. This file will be used in the next step, so be sure to remember where you saved it.
Tip: Want to use your model in a browser-based setting for a more dynamic experience? Test out your VTuber model in VIVERSE! You can play games or explore new lands as your model by simply uploading your VRM file as an avatar into your account.
Check out this quick breakdown of how that would work:
Step 3: Set Up Face Tracking with Warudo
Once you have a 3D avatar that you’re happy with, it’s time to animate it so that it can follow your movements and represent you. To do that, you’ll need a camera, a microphone, and the Warudo software, available through Steam. This duo is commonly paired together in real streaming setups and in motion capture VTubing guides.
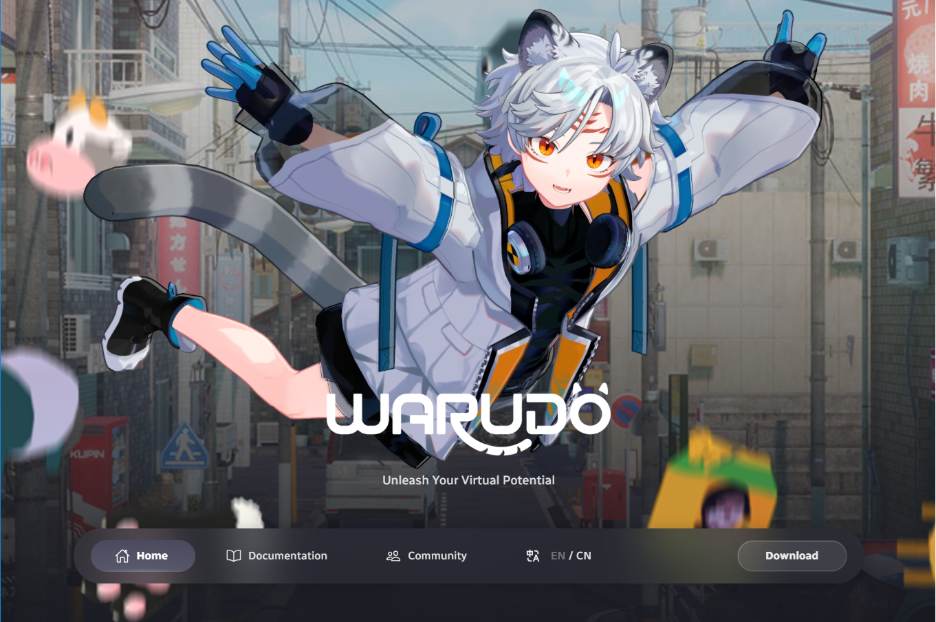
Visit the Warudo website to download their app (though, again, it’s available through Steam), read documentation, or engage with their community. You may want to create a shortcut on your desktop during installation for easy access, since we have a feeling you’ll be using it a lot!
Get started with the Onboarding Assistant
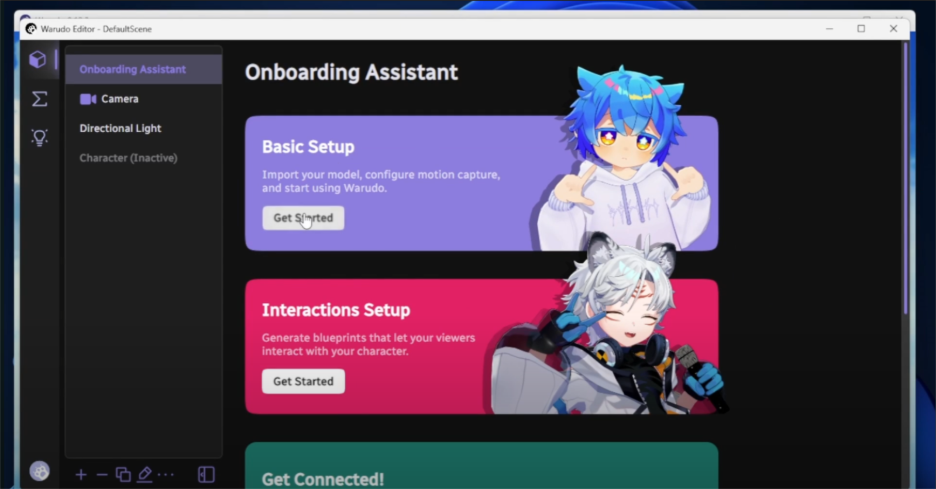
Select the Basic Setup for the easiest onboarding experience with Warudo. You’ll follow the on-screen instructions for how to locate your saved VRM, then select it from the dropdown list shown below.
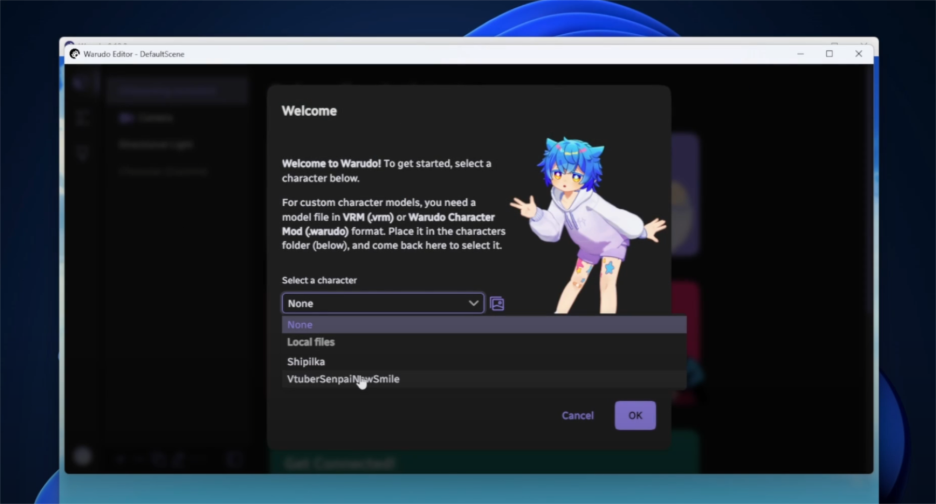
In this example, you can see that VTuberSenpai was able to add and select their custom model. The next step in the process is to configure motion capture. We suggest letting Warudo walk you through the recommended setup process by selecting “Yes, recommend for me” when prompted.
VTuberSenpai’s example uses a webcam, as seen in the screenshot below, but we highly suggest using an iPhone 10 or later if you have access, as the facial tracking features in those models are superior to most webcam options available.
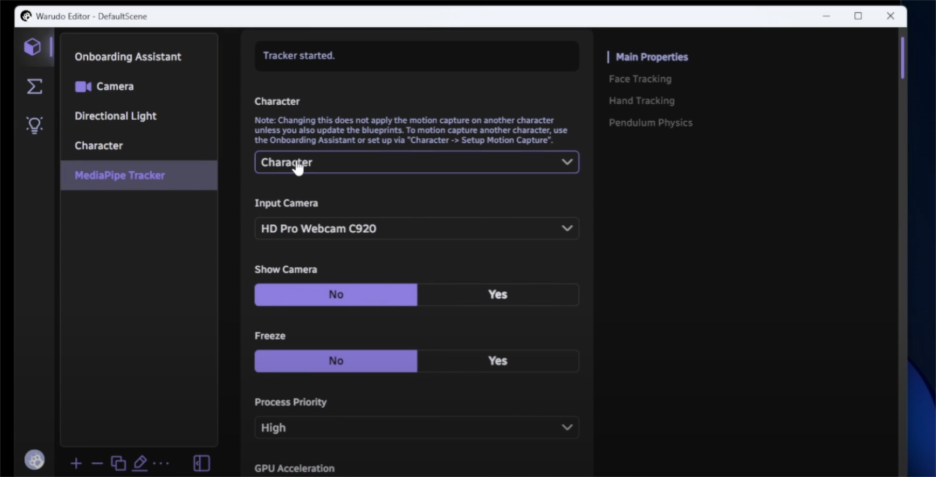
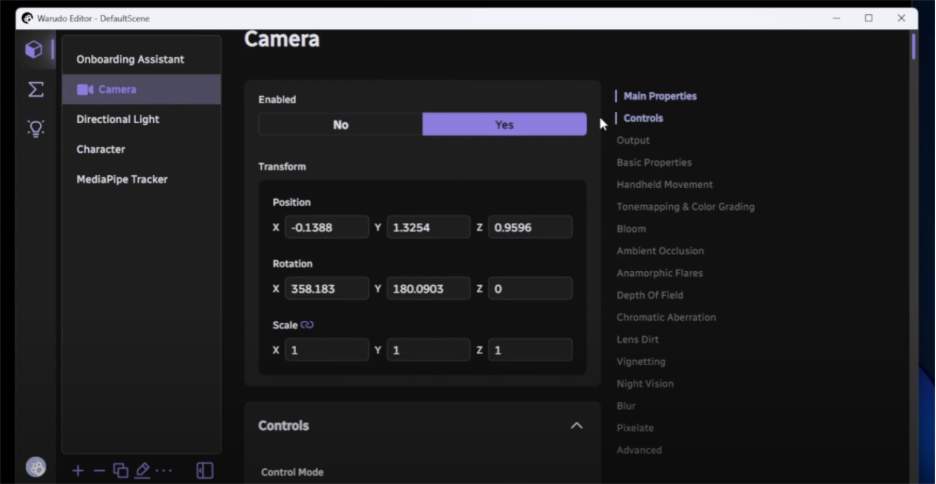
Continue through the Warudo setup process, selecting your available virtual character, the input camera you’ll be using, and the third-party motion capture tool of your choice. Warudo has several motion capture device pipelines already set up.

Of the tools available, we suggest apps like iFacialMocap (paid and ad-supported versions available), Rhylive (an iOS app), or Waidayo (not listed in Warudo but can be configured via the VMC option) for the best tracking and configuration options.
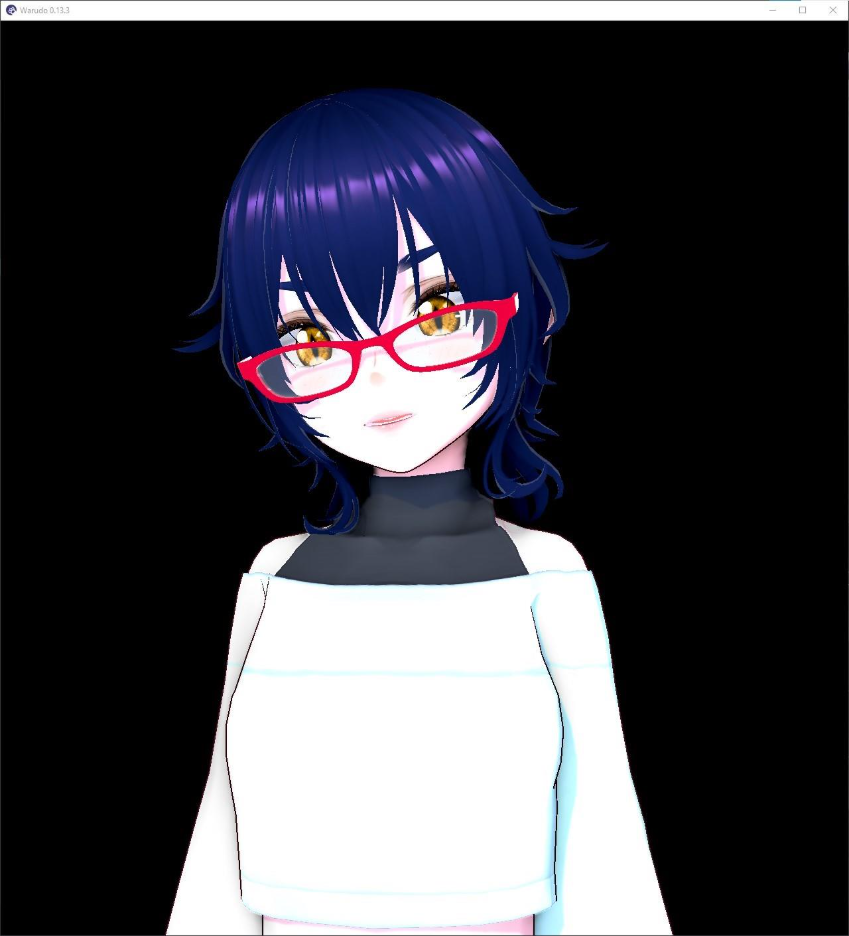
Using iFacialMocap with an iPhone 16, we can see our raven-haired 3D VTuber model appear in the Warudo interface, ready for the next step—setting up OBS.
Before we move on, if you need additional support for setting up Warudo, they have a thorough knowledge base of helpful articles, tips, and tutorials. They even have instructions for setting up different app connections with their program for motion capture control.
For a quick review of the process and to watch the flow in action, we suggest watching VTuberSenpai’s video on setting up Warudo for use with YouTube, Twitch, and OBS. We’ve shared it below, but make sure to check out VTuberSenpai’s many other VTubing videos for helpful tips and tricks.
Step 4: Prepare OBS Studio for Streaming
An animated avatar without any content behind it won’t hold your audience for long. OBS Studio, a favorite among virtual and in-person streamers, helps you stream content from a game or other application on your computer with your VTuber persona overlaid.
Download and Install
Get OBS Studio from the official site and install it.
Set Up Your Virtual Scene
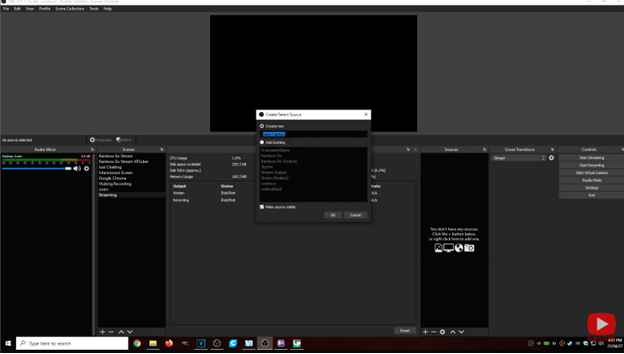
Click + in the Scenes panel on the left, name the scene something recognizable, like “Streaming,” and hit OK. This scene is where you’ll combine different visuals, such as your avatar, gameplay footage, and other content you want to share.
To bring in those visuals, you’ll need to tell OBS Studio where to find them by adding a source for each one:
- Click + in the Sources panel on the right and select Game Capture.
- Name this something recognizable, like “Avatar”, and hit OK.
- Add a Game Capture source.
- Set Mode to Capture a specific window.
- Set Window to Warudo
- Check Allow Transparency.
- Click OK.
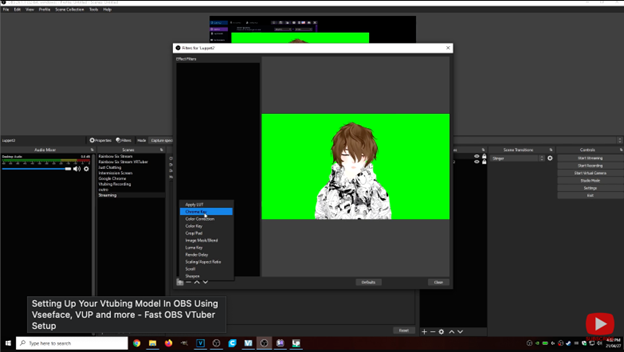
Note: If you still see a background behind your avatar, right-click on the avatar source from the Sources panel and click + → Filters → Chroma Key → OK.
Outside of OBS Studio, open your game (if you’re streaming gameplay) or whatever other content you want to show behind your avatar.
Then, within OBS Studio, add a second Game Capture for that content by following the steps above, choosing a different name and setting Window to that content.
Add Overlay Elements (Optional)
You may have noticed that there are other source types besides Game Capture. You can also use those to add even more visuals to your scene. For example, use Browser to show off a webpage or online chat.
Tip: Layer order matters! Arrange your capture sources so that your avatar is above the game footage or other content. Otherwise, the other content might block your avatar from view.
If OBS setup feels a little intimidating, watch VtuberSenpai’s tutorial below. He breaks down how to capture your avatar, manage layers, and prepare a clean layout for streaming.
Step 5: Do a Test Recording or Livestream
It’s time to see your VTuber persona in action to make certain that you’ve set everything up correctly. A bit of testing will help you catch problems before your audience does.
Test a Recording
In OBS, click Start Recording in the Controls panel on the far right. Move, speak, and try different expressions. Check the playback for smooth tracking, synced lip movement, and clear audio.
Test a Livestream
In the same Controls panel, you can also click Start Streaming to connect OBS to your streaming platform. You may want to start with a private or unlisted stream while testing it.
Have Your First Interaction
Try uploading a recording to a platform like YouTube or going live with a mini debut. Greet your audience and speak naturally to get used to the flow. You can also try viewing your video on a different device to make sure your audience sees what you want them to see.
Bonus Tips:
- Begin with short sessions to build your comfort and confidence.
- Keep overlays and effects simple until you are comfortable integrating and using them.
- Gradually explore advanced features like hotkey animations or props.
- Join VTuber communities on Discord, Reddit, or social media for resources and feedback.
- Take breaks to avoid fatigue.
Conclusion: Step Into Your VTuber Persona with free 3D tools
With your tools in place, a custom 3D avatar ready, and face tracking and streaming software set up, you have everything you need to dive into VTubing. Start with short practice sessions to build confidence, then gradually explore overlays, props, and advanced features. The most important part is to let your personality shine. Remember, audiences connect with authenticity and creativity more than technical perfection.
We’d also like to thank VtuberSenpai, a seasoned VTuber and content creator, for collaborating with us on this guide. His beginner-friendly tutorials and insights are a great next step for those who want to deepen their skills. Now that your virtual persona is ready, it’s time to hit “Go Live” or upload your first video. Your VTubing journey begins today!
About the Video Author: VTuberSenpai
VTuberSenpai is a content creator and educator dedicated to supporting aspiring VTubers worldwide. Through in-depth tutorials, live workshops, and step-by-step guides, VTuberSenpai helps beginners navigate everything from creating avatars to setting up software and growing an audience. Their approachable teaching style and passion for sharing knowledge make complex topics accessible to everyone.